Solutions for Hard Disk Not Showing During Windows11 Installation
Windows 10/11 Installation Troubleshooting of 11 Generation or above
How to fix the problem of 11 Generation Laptop or Desktop that does not show the Hard disk drive while installing Windows 10/11.

instruction, you can also click link below to know more about how to fix cannot find drives when This article provides a troubleshooting guide on how to resolve disk drive not showing up during installation of Windows 10/11 on a Laptop or Desktop Computer. The solution is to load the relevant driver during installation.
To provide you more detailed installing Windows 10/11:
https://www.youtube.com/watch?v=HuCY0ChsqAM
Intel CPU platform, you need to manually install IRST (Intel Rapid Storage Technology) driver during the Windows installation process.
Download and Extract IRST (Intel Rapid Storage Technology) driver
https://www.asus.com/us/supportonly/irst/helpdesk_download/
First you have downloaded this file [VMD_DCH_Intel_F_V19.5.1.1040_30787] and extract
Choose the root directory of the USB flash drive and then copy this folder with files.
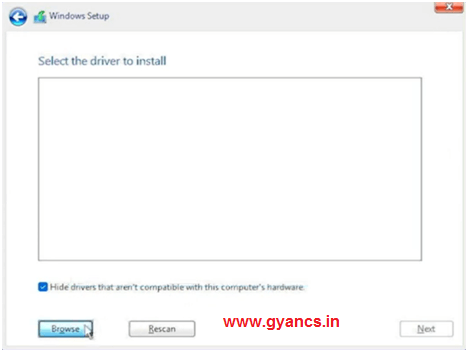
When you see the screen “Where do you want to install Windows” and Windows cannot find any drives, please click {Load driver}
Select {Browse}
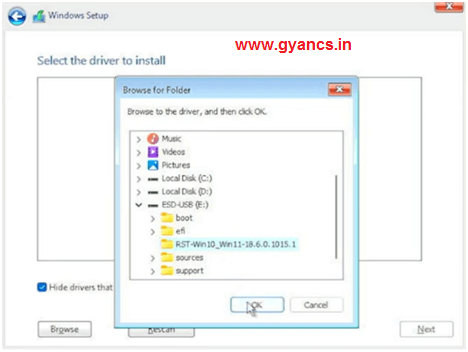
Find the folder where you extracted the IRST driver earlier, select the {RST} folder, and then click {OK}
Select [Intel RST VMD Controller], and then click {Next} to start installing the driver.
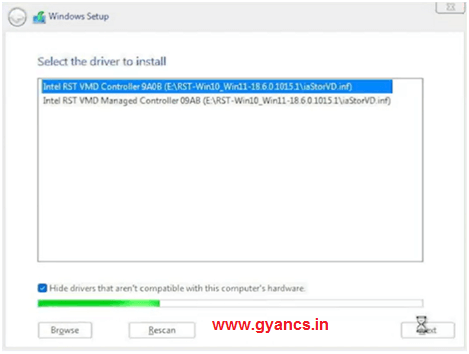
Once the driver installation is complete, the Hard disk drive will be displayed normally.
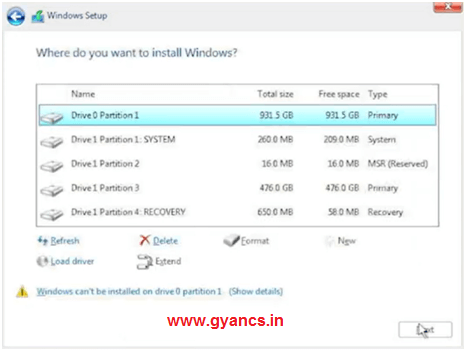
If you still cannot find the disk drive during Windows installation Disable VMD (Intel Volume Management Device) to continue with the installation of Windows.
Disable VMD (Intel Volume Management Device) using BIOS for ASUS Laptop
Firstly, the computer needs to enter BIOS. While the computer isn’t powered on yet, press and hold the F10 button of the keyboard.
- After entering the BIOS, press Hotkey {F10}, or use the cursor to click {Advanced Mode}.
- Go to{Advanced} screen, and then select {VMD setup menu}.
- Select {Enable VMD controller}, and then select {Disabled}
- Click {Ok}to disable VMD (Intel Volume Management Device).
- Save & Exit Setup.
Disable IRST (Intel Rapid Storage Technology) using BIOS Dell Laptop
Firstly, the computer needs to enter BIOS. While the computer isn’t powered on yet, press and hold the F2 button of the keyboard.
- After entering the BIOS, press Hotkey {F2}, or use the cursor to click {Storage Mode}.
- Go to screen, and then select {IRST Radio button}.
- Select {Enable IRST controller}, and then select unselect {Disabled}
- Click {Apply} to disable IRST (Intel Rapid Storage Technology)
- Exit Setup.